Day 2: Silly Tavern macOS installation—complete guide

After Day 1, you are ready to install Silly Tavern on macOS. This article walks through installing Silly Tavern on macOS with 2026-oriented detail, including simple analogies for Node.js and Git if the terminal is new to you.
It runs well on M1, M2, and M3 Macs. On day 2 of this series, complete installation and open the door to AI chat.
Before you install | What you need
Environment
- macOS: 10.15 (Catalina) or later
- CPU: Intel or Apple Silicon (M1/M2/M3)
- RAM: At least 4 GB (8 GB+ recommended)
- Storage: 1 GB+ free
- Internet: Required during install
Tools
Three pieces of software power Silly Tavern on Mac:
1. Homebrew
Homebrew is a package manager for macOS—think “App Store on the command line” for dev tools.
2. Node.js
Node.js runs JavaScript outside the browser. Silly Tavern runs on top of it—like an engine for the app.
3. Git
Git tracks code versions and is how you clone Silly Tavern from GitHub—like “checking out a book from the library.”
Step 1: Install Homebrew
Skip if brew --version already works.
Check Homebrew
brew --versionIf you see a version, you are set. If you see “command not found,” install below.
Install Homebrew
/bin/bash -c "$(curl -fsSL https://raw.githubusercontent.com/Homebrew/install/HEAD/install.sh)"After install, follow the on-screen PATH steps. On Apple Silicon, you often need:
echo 'eval "$(/opt/homebrew/bin/brew shellenv)"' >> ~/.zprofile
eval "$(/opt/homebrew/bin/brew shellenv)"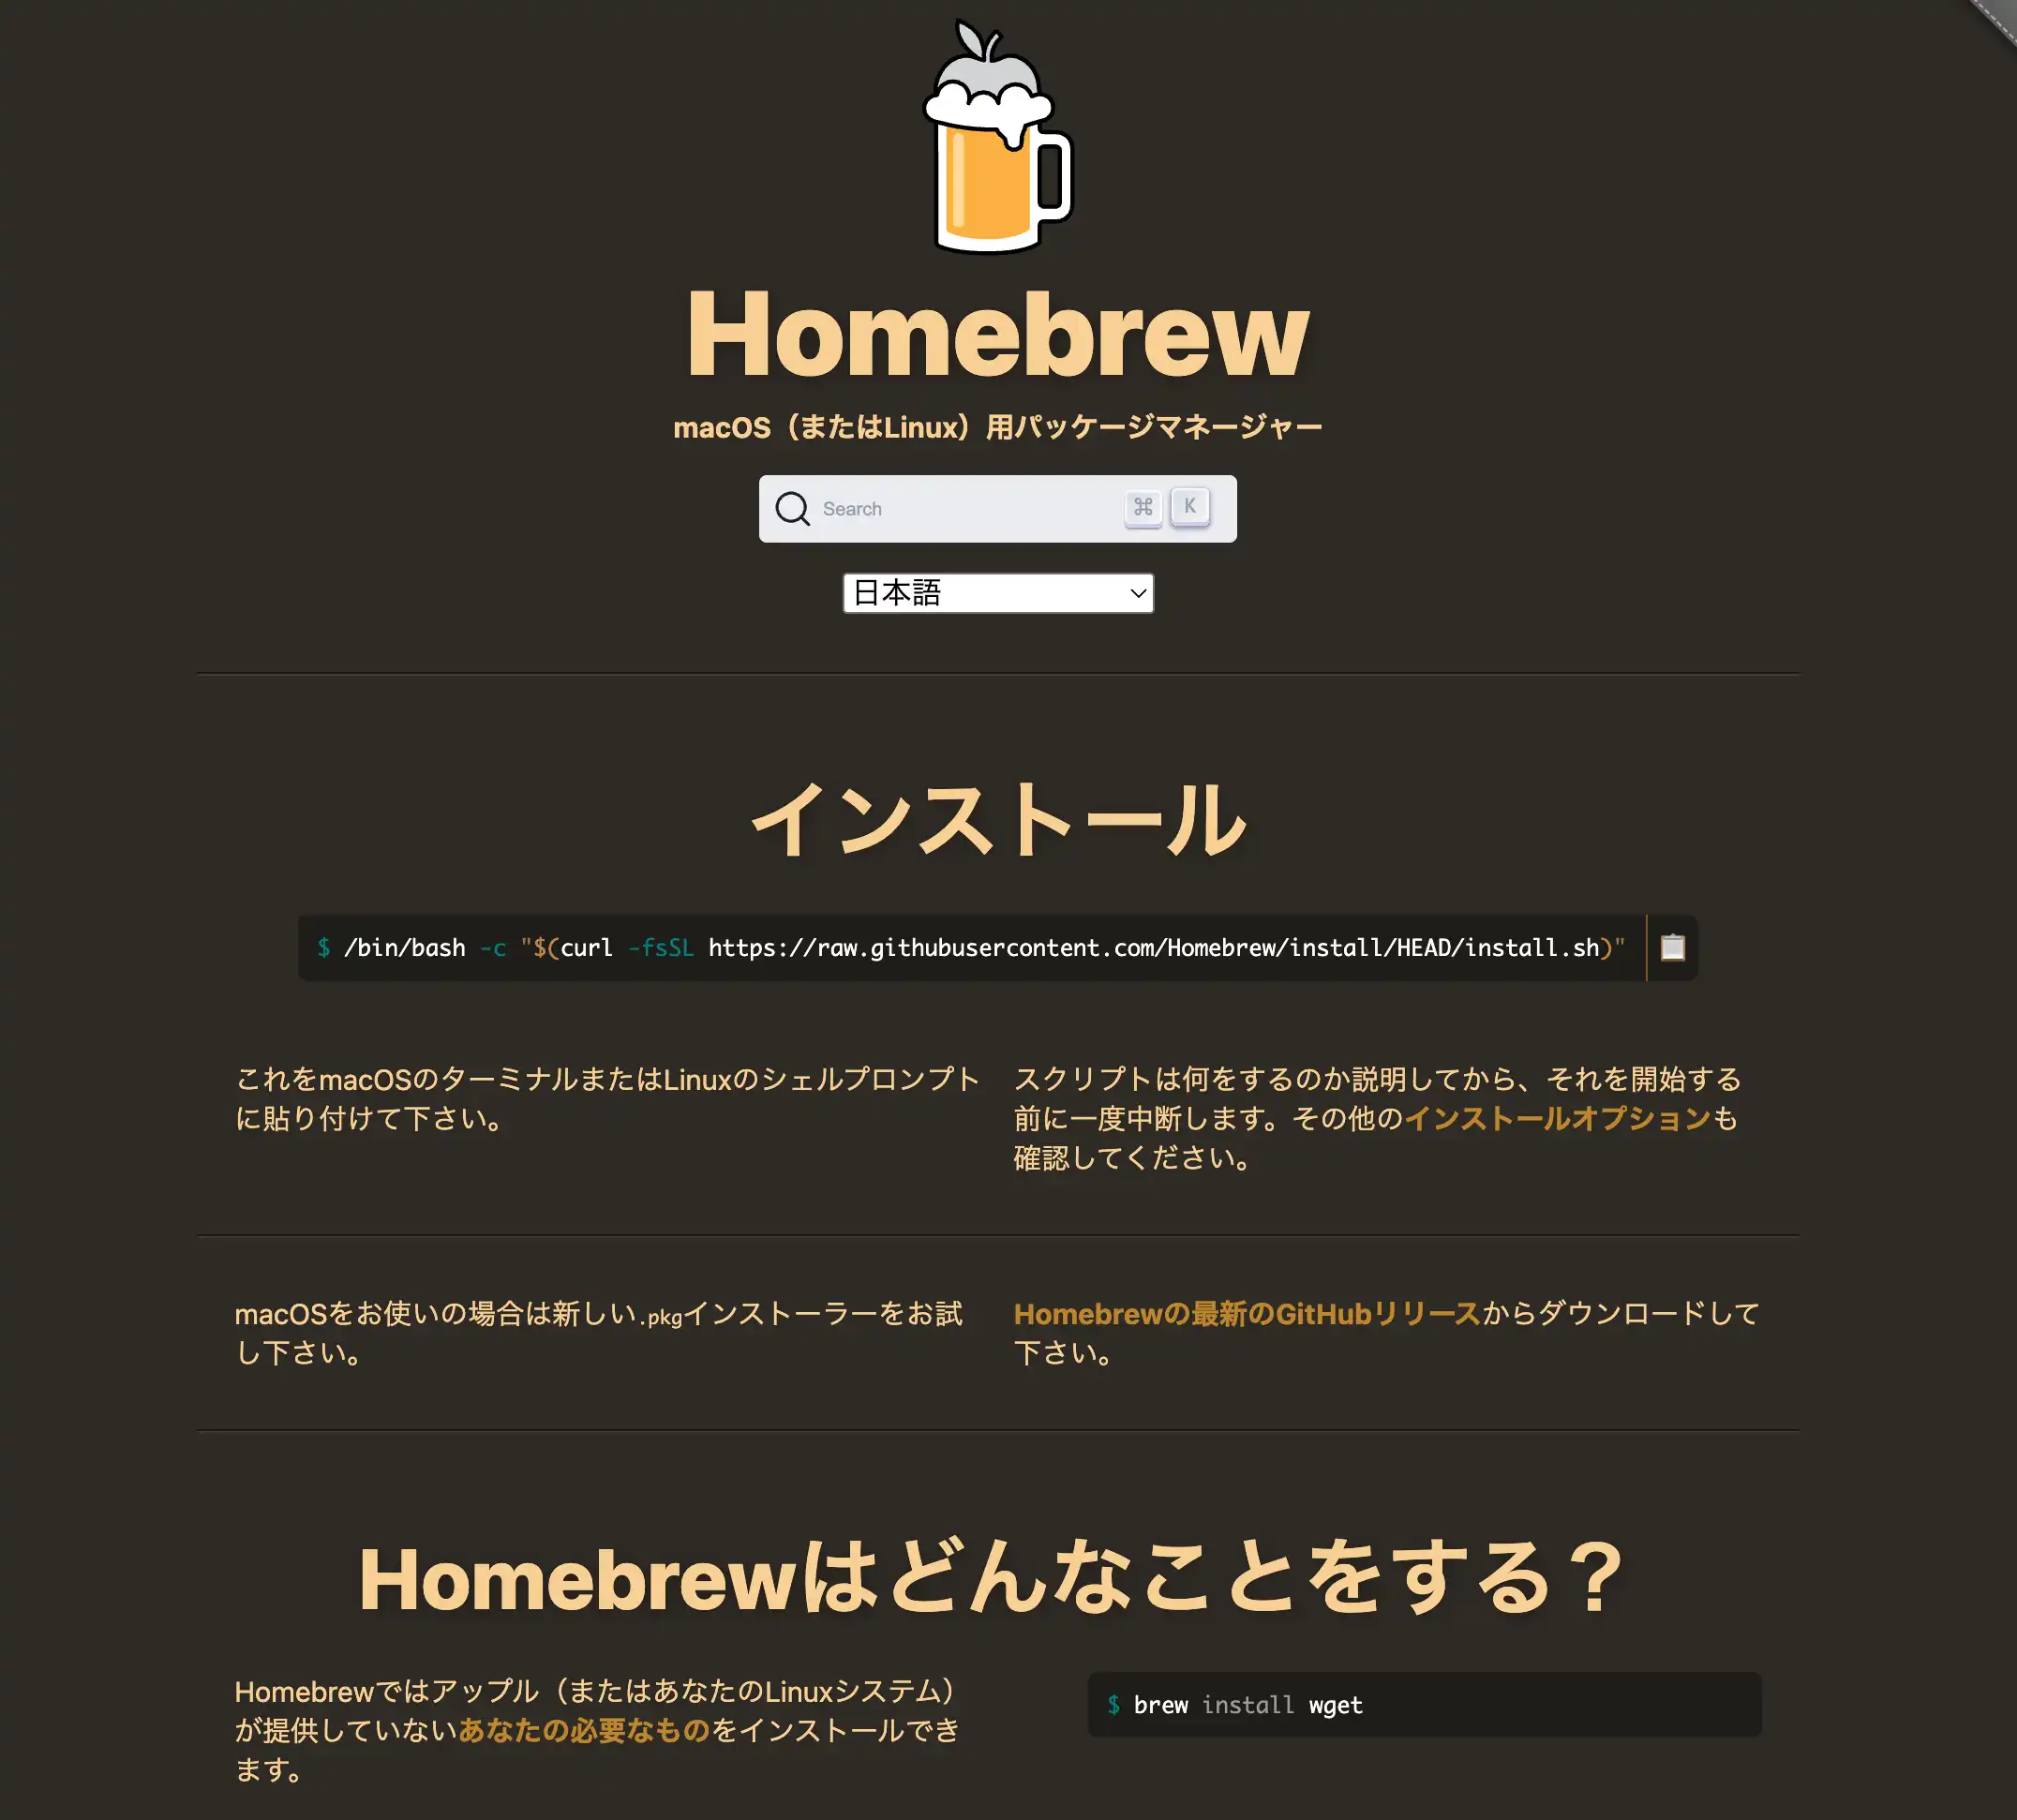
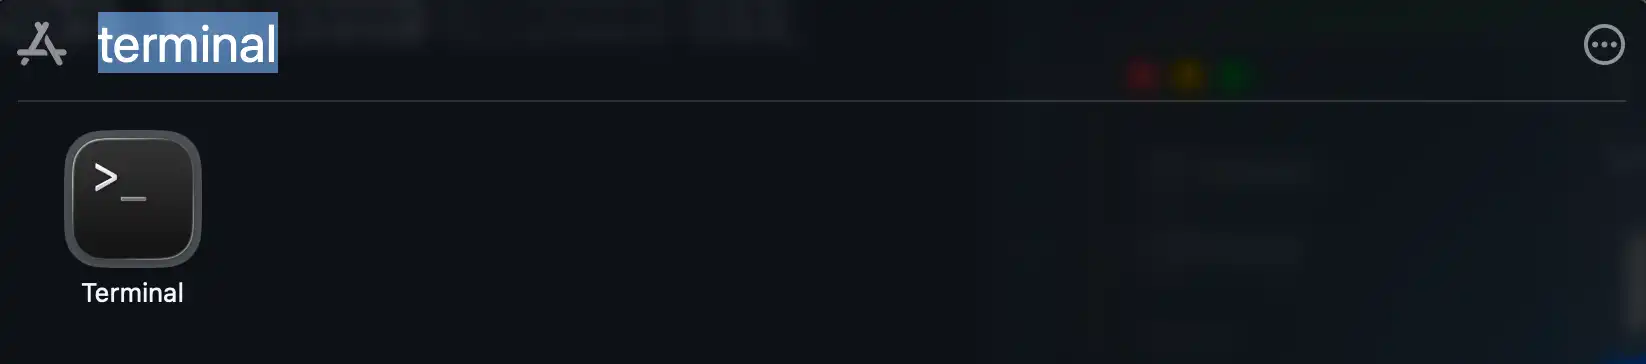
💡 Tip: Open Terminal from Finder → Applications → Utilities → Terminal, or Spotlight search “Terminal.”
Step 2: Install Node.js
Silly Tavern’s “engine.”
Check Node.js
node --versionYou want v18+ if possible. If missing or old, install with Homebrew.
Install Node.js
brew install nodeThen verify:
node --version
npm --version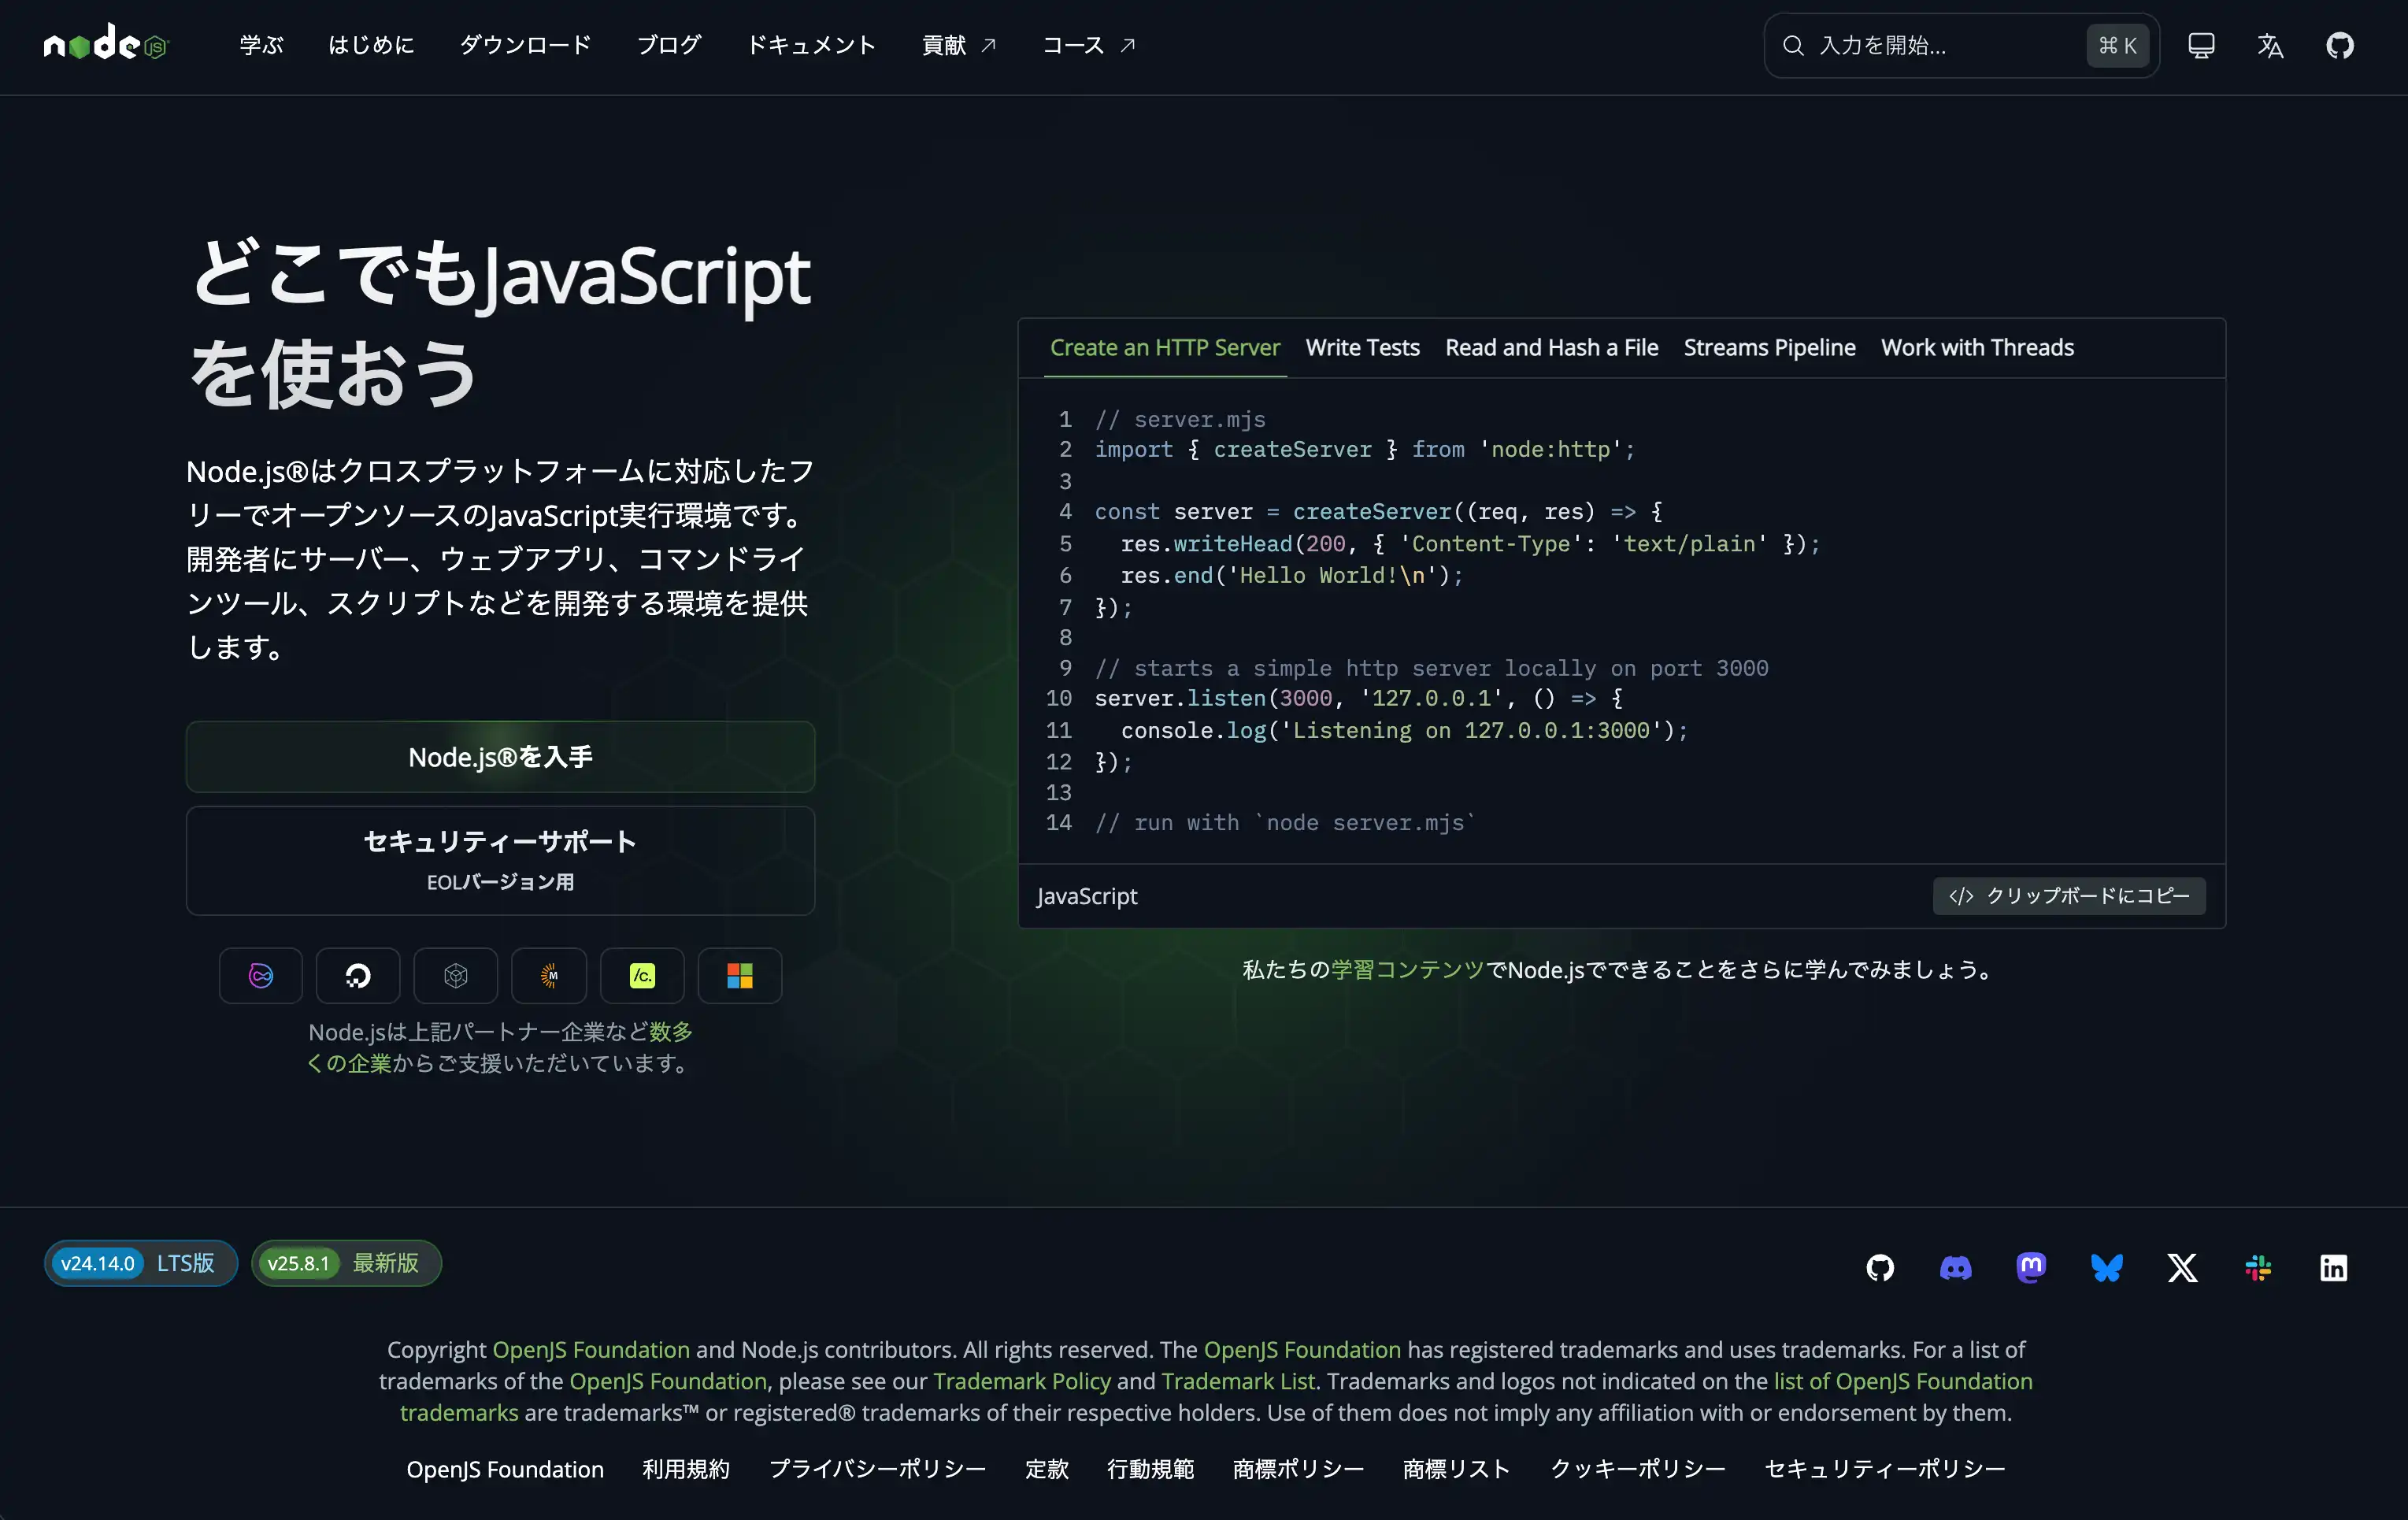
💡 Tip: npm ships with Node.js—think of it as Node’s package manager.
Step 3: Install Git
Git downloads Silly Tavern from GitHub.
Check Git
git --versionInstall Git
brew install git
git --version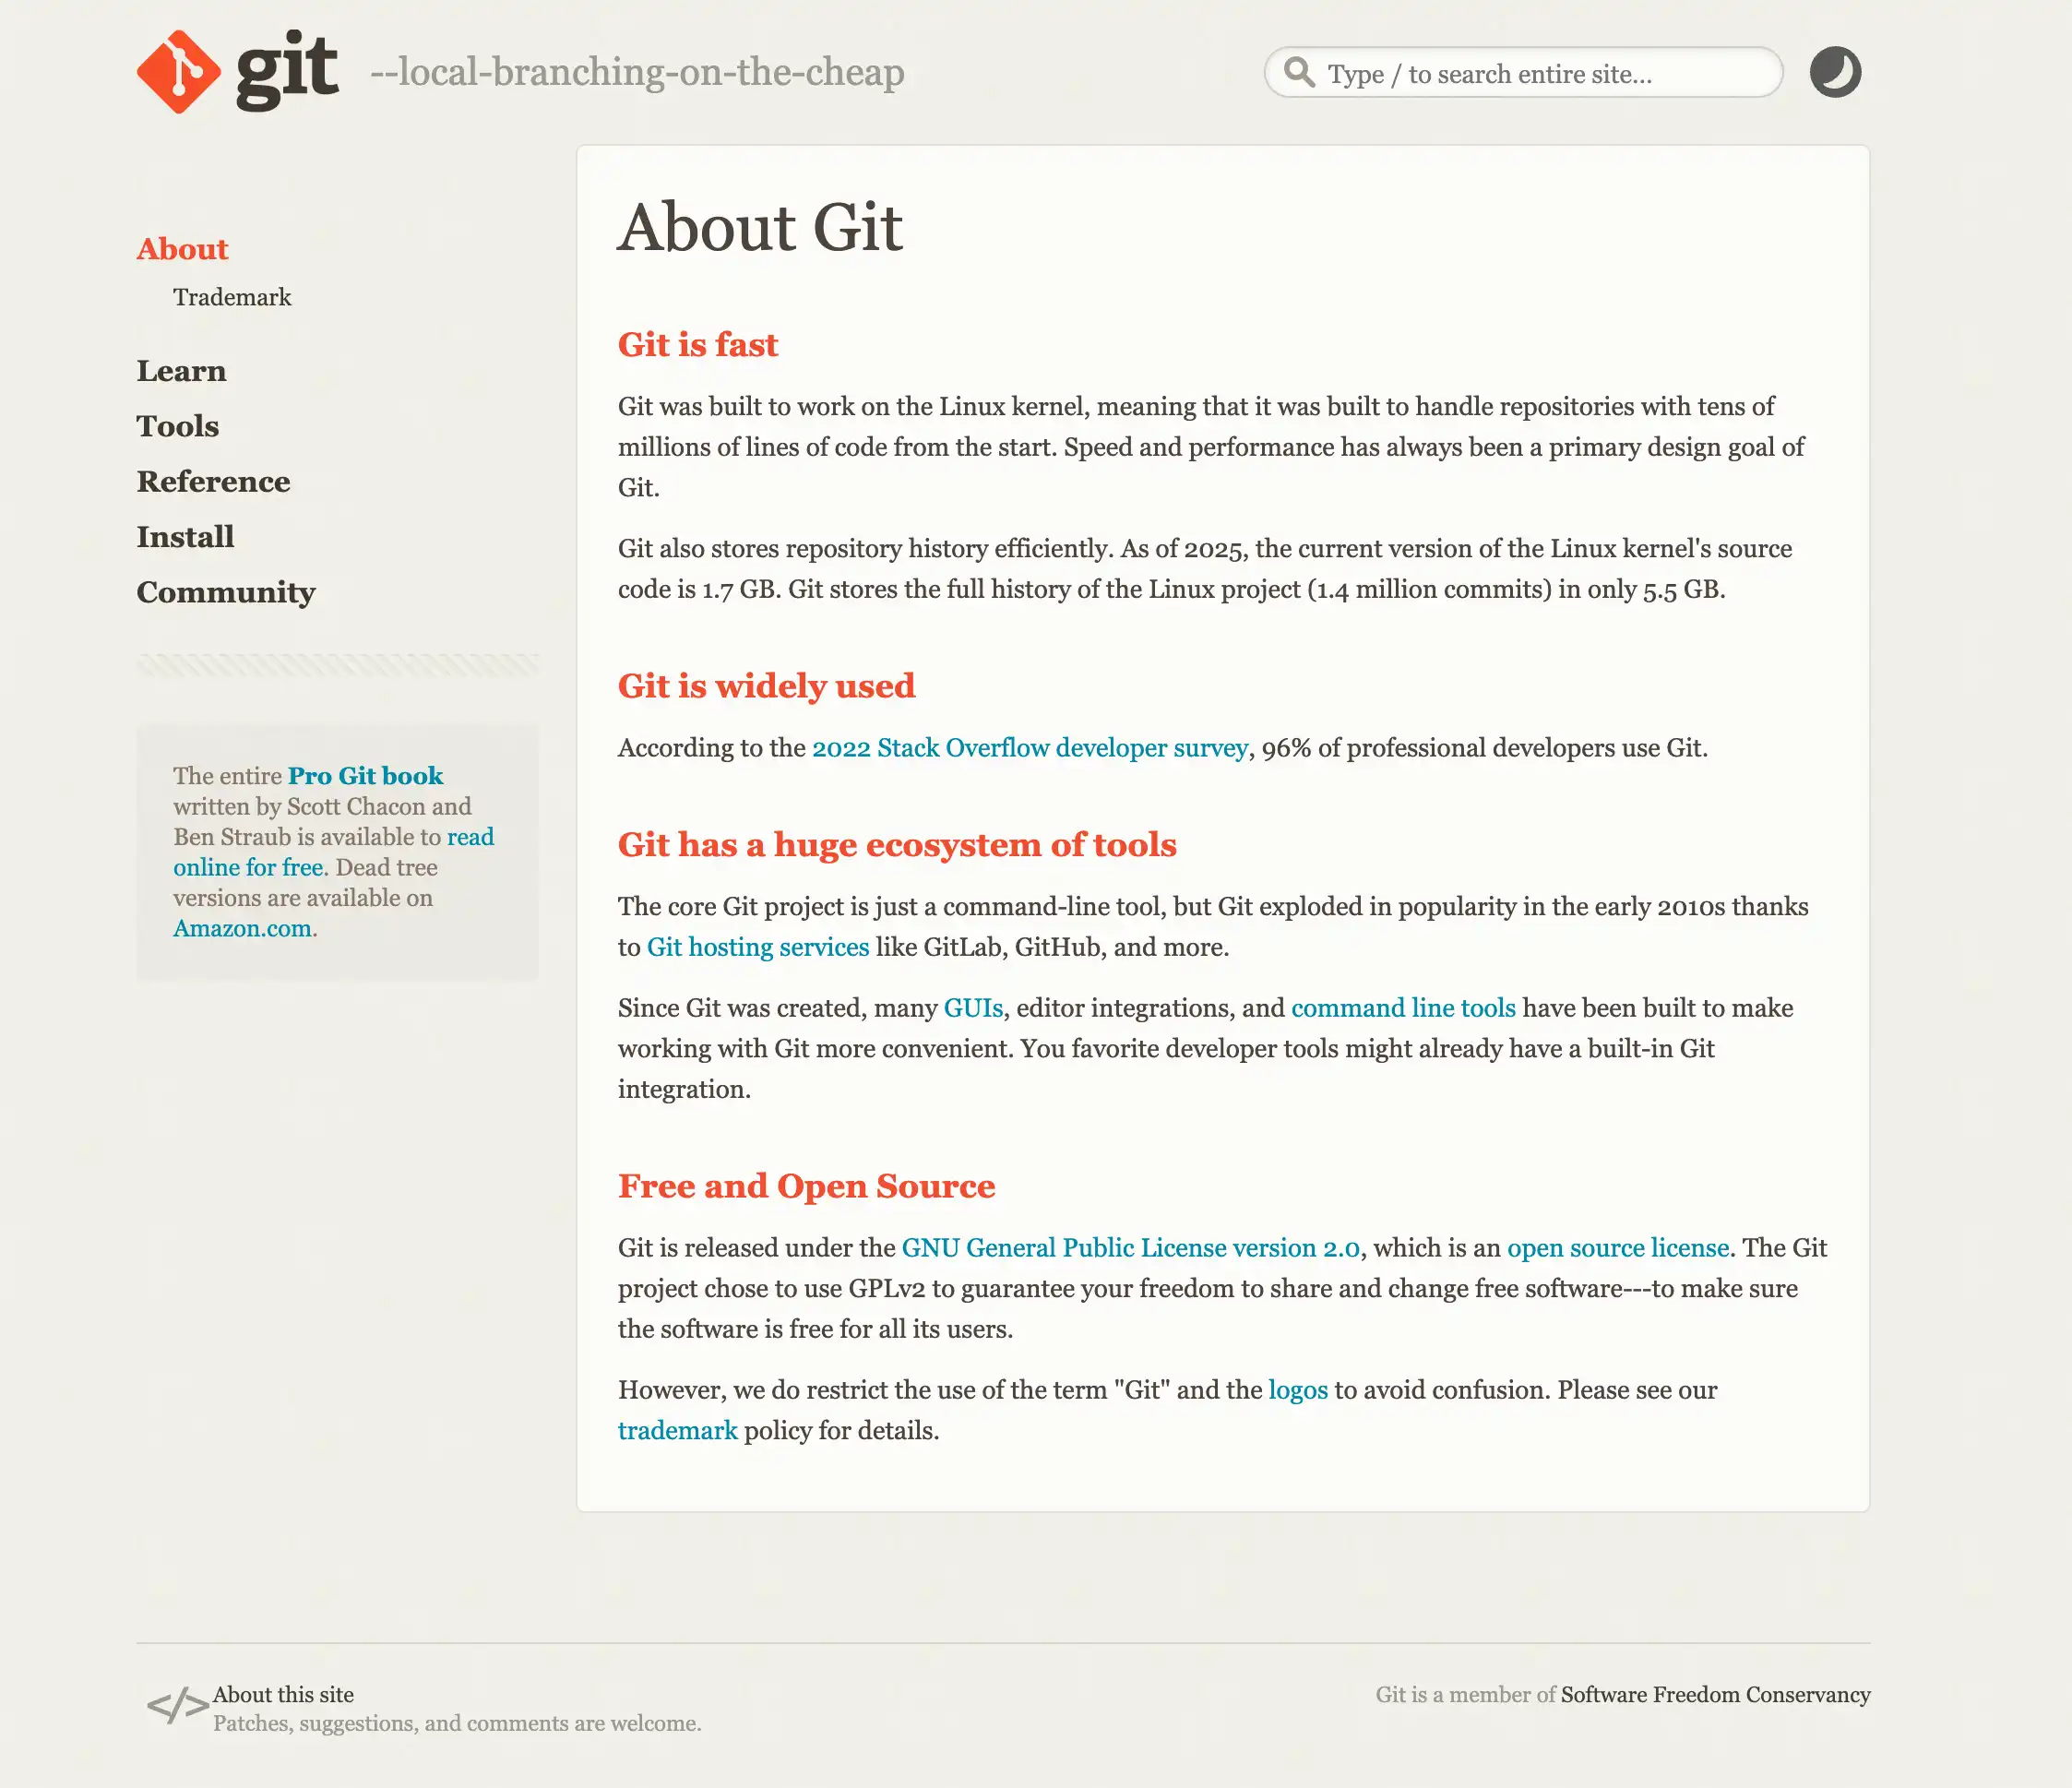
Step 4: Download Silly Tavern
Choose a folder
Many people use a SillyTavern folder in their home directory.
cd ~Clone from GitHub
git clone https://github.com/SillyTavern/SillyTavern.gitThis may take a few minutes.
Enter the folder
cd SillyTavernStep 5: Start Silly Tavern
Run the start script
On macOS, run:
./start.shThe first run may install dependencies automatically and take several minutes.

Open in a browser
When you see something like:
SillyTavern is listening on: http://127.0.0.1:8000open:
http://localhost:8000If the UI loads, install succeeded.
💡 Tip:
localhost:8000is your Mac’s port 8000—local only, not exposed to the internet by default.
Apple Silicon (M1/M2/M3) notes
Rosetta 2
As of 2026, Silly Tavern runs natively on Apple Silicon; Rosetta 2 is not required for typical use.
Ollama
For local models, Ollama is a good companion on Apple Silicon:
brew install ollamaMore in Day 5: Local models.
Common errors and fixes
Error 1: “Permission denied”
Cause: start.sh is not executable.
Fix:
chmod +x start.shError 2: “Port 8000 is already in use”
Cause: Another app uses port 8000.
Fix: Quit the other app or change Silly Tavern’s port in config.
Error 3: “Node.js version is too old”
Cause: Node is outdated.
Fix:
brew upgrade nodeError 4: “command not found: git”
Cause: Git not installed.
Fix: Repeat Step 3.
Updating Silly Tavern
Update steps
- Go to the Silly Tavern folder:
cd ~/SillyTavern- Pull latest:
git pull- Restart:
./start.sh💡 Tip: Regular updates bring fixes and new features.
Next steps | Connect an AI model
Install is done—you still need a model connection to chat.
Continue with:
Easier path: If setup felt heavy, try MiniTavern—no local Silly Tavern install. See Day 7.
Summary
You learned how to install Silly Tavern on macOS with Homebrew, Node.js, Git, first launch, updates, and common errors. Next: character cards and model setup—enjoy exploring Silly Tavern.
Reference links
- Silly Tavern official GitHub
- Silly Tavern docs - macOS install
- Homebrew
- Node.js
- MiniTavern official site
About the author

FAQ
Q1: How long does install take?
Often 30–60 minutes for tools plus first launch, depending on network and machine. First-run npm install can add time.
Q2: Does it work on M1/M2/M3 Macs?
Yes. Silly Tavern supports Apple Silicon natively as of 2026.
Q3: Is Homebrew required?
No, but it is the easiest path for Node.js and Git on Mac. Advanced users can install those manually.
Q4: How do I uninstall?
Delete the folder, e.g. rm -rf ~/SillyTavern (be sure that path is correct before running).
Q5: Can I run two copies side by side?
Yes—clone into different folders. Avoid port conflicts (change one instance’s port).
Q6: What should I do after install?
Read Day 3: Character cards, then Day 4: AI model connection to start chatting.
Q7: I do not know how to use Terminal
Open it from Applications → Utilities → Terminal. Paste commands and press Enter.
Q8: It errors on start
Confirm Node.js and Git versions. For community help, try the official Discord.
Q9: Same steps on Windows?
No—use the Windows section of the official docs.
Q10: Where is the config file?
Typically ~/SillyTavern/config.yaml—editable in any text editor.
Published: March 12, 2026
Last updated: March 27, 2026